Modern printers can use NFC to print from Android and iPhone devices. Nfc printing has gradually become a quick way to print that is commonly used by businesses. However, not everyone has these high-tech printers. There are some other ways you can do quick printing. In this article, we will explain how to use NFC Printing for Android and iPhone.
Definition of NFC Printing
NFC printing stands for Near Field Communication printing. It is a technology that can transmit radio waves over short distances. You only need to meet certain simple conditions to transfer data between two devices quickly. For example, touching or bringing one device close to the other. On the other hand, NFC Printing uses NFC technology to enable direct printing from smartphones and tablets to NFC-enabled printers.
How can NFC Technology be Used for Printing?
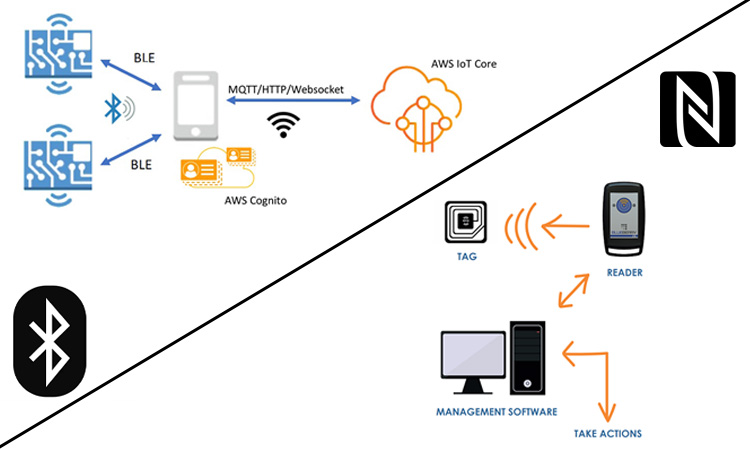
NFC Printing works by establishing a wireless connection between the device and the printer using NFC technology. This technology uses electromagnetic fields to transmit data over short distances. The NFC chip on the device will send a signal to the printer when the device is located near the printer. The printer then establishes a connection with the device and receives the data to be printed.
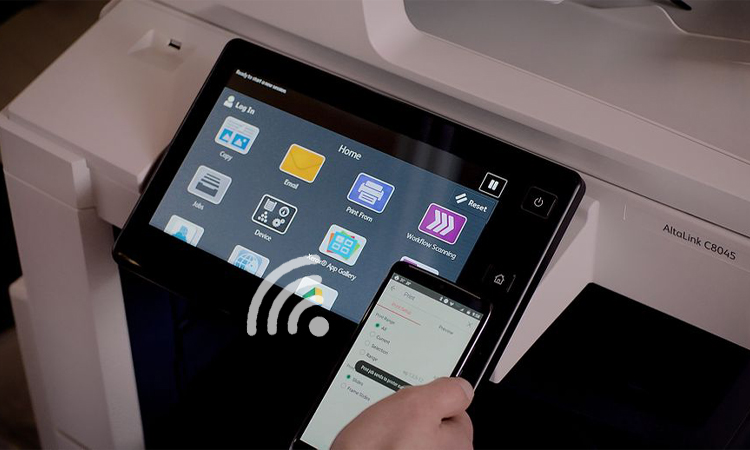
Today, almost most smartphones and tablets use NFC technology. It’s fairly simple to connect your NFC-enabled device to a printer and print a document. All you need to do is select the document you want to print on your phone. Then place the device on the NFC-enabled printer. After a few seconds, a dedicated application will open automatically. At this time, you click Print, and you’re done. This simple way of printing has attracted more people to use NFC printing.
NFC Printing Android
Samsung printers support various models of mobile devices for NFC printing. Of course, first, your mobile device should have NFC capability. The next step is introducing the requirements and steps to use NFC printing with Samsung’s Samsung laser printers.
- Requirements
- Mobile device with NFC and WiFi Direct capabilities
- Mobile device with Android OS 4.1 or higher
- Printer with NFC capability and WiFi Direct
- Samsung MobilePrint application
Once you have met the above four requirements, you can use NFC printing. The following is an example of an Android smartphone and a Samsung printer. Detailed steps are as follows.
- Enable your smartphone’s NFC and WiFi Direct features
- Enable WiFi Direct for the printer
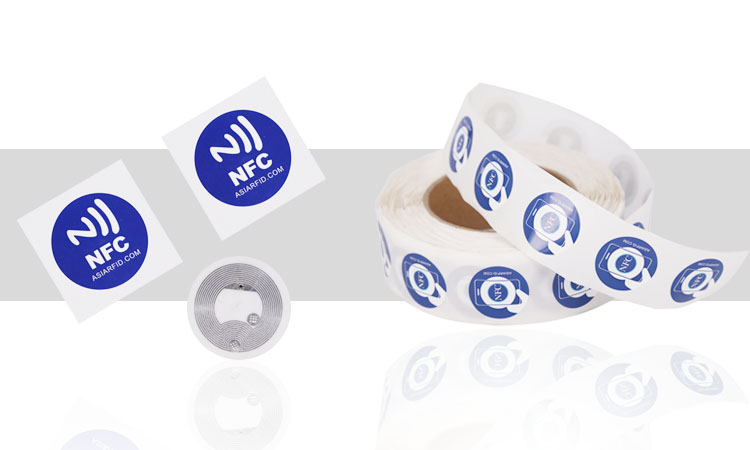
- Place the NFC antenna on the printer’s NFC tag in a downward-facing position.
- Soon, the Samsung MobilePrint application will start automatically
- Pick up your phone and select the print mode
- Select the document to be printed
- Place the phone on the printer’s NFC tag again
- Wait for the phone to connect to the printer
- The printer starts printing the document
Android NFC printing is very simple. Although it is very easy to operate, some things need to be noted.
You need to pay attention to the location of the NFC antenna. Some phones may not have the NFC antenna on the back. If there is an error message about “Update PIN” during the connection. You need to change the PIN and press the confirmation button. Follow the instructions on the downloaded application screen to update the PIN.
You also need to know if you do not have the Samsung MobilePrint application installed before you start. The system will direct your phone to the download page for this application. You must download the app and then try the previous steps again.
In addition, your printer must also be connected to the same WiFi network as your phone.
Other Methods of Android Printing
Besides the above simple NFC printing, you can also have other options. Examples include Google Cloud Print and Mopria Print. These platforms give Android users more opportunities to connect to printers.
- Google Cloud Print: It is a convenient tool for Android printing. With this tool, you need to connect the printer that has it to the Internet. It means that your printer is linked to your Google account. Other than that, you don’t need to do anything else to set it up.
Once you have set up your printer, you need to download the Cloud Print application. The application you can get from Google Play Store. You can then log in to your account to print. Google Cloud Print is the same as any other device printing process.
- Open the document you need to print
- Select the menu
- Click Print
- On the new page, click the “Down Arrow” to the right of Save as PDF
- Select the printer
- Click the “Print” button to complete
The first step to open the document location may be different. It may be a Google Cloud Drive document. It could also be a photo in the gallery or another application/document that supports printing. In the step 5 operation, you may not be able to find the corresponding printer immediately. At this time, you need to click All Printers. You will need a list of all the printers you have connected.
- Mopria Print: The application is also easy to use. You can easily get it for free from the Google Play store. You can also get it directly from the official Mopria website. It also allows you to connect any Mopri-certified printer with no additional setup. The printing procedure is also quite simple. You know how to connect to a printer using other applications. You can also use it easily.
NFC Printing iPhone
Above, we introduced NFC printing for Android in detail. Next, let’s learn about NFC printing for iOS. If your mobile device is iOS, you must use it with a printer that supports AirPrint. Here are the details of NFC printing for iPhone.
- Requirements
- Any model of iPad, iPhone 3GS/later/iPod Touch/latest version of iOS
- A printer with the latest firmware and compatible with AirPrint
- Support for AirPrint applications (e.g., Mail, Safari)
You can find relevant printer devices on Apple’s AirPrint Basic Support page. They have a full list of all compatible devices on them. Among them are Epson, HP, and Samsung. AirPrint-enabled printers from these companies can connect to any compliant iPhone. Below, we start to introduce the steps of NFC printing for iPhone.
- Step 1: Connect to the WiFi
There is one prerequisite for using AirPrint. That is, your printer and iPhone must both be connected to the same WiFi network. If you do not know how to turn on the feature and connect to the network. You can check the printer manual or the manufacturer’s website for a tutorial.
- Step 2: Select a Printer
This step mainly operates on the app that supports AirPrint. First, open the app. Check the connection between your iPhone and printer. Next, you will see a small arrow that looks like a forward or replies to the e-mail icon. Click on the icon and select Print. At this point, the device selected for default will appear on your printer display. If not, click Select printer. Then allow the iPhone to scan a nearby printer.
- Step 3: Select the Number of Copies
You can select the number of copies to Print by clicking on the plus/minus symbol to the right of “Copies.” Usually, the number of copies printed must be at least one at a time. If you want to print more pages. You can open the Black and White options screen. You can display pages in this option and choose to print all pages.
- Step 4: Print
After selecting your printer and the number of pages to be printed, click Print immediately. You can cancel printing at any time if you find an incorrect number of pages or content during printing. The way to cancel printing a document or check its status is to double-click on the Home button. You will then be taken to the application switcher. From here, you can choose to go to the Print Center. Finally, tap Cancel Print directly.
Isn’t it easy to use an AirPrint-compatible printer for NFC printing on iPhone? There are other easier ways for iPhone to do quick printing.
Print Using E-mail
E-mail is basically for everyone. However, did you know that printers have it too? Many of the new Epson models on the market today come with Epson Email Print, and the new HP models come with HPePrint. All you need to do is e-mail the file to the specified e-mail address. You can print your documents anytime, even when not next to the printer. However, this feature is not available for all users and printer models. Only some models are available, such as the Epson Expression and WorkForce series. There are also the latest models of HP printers.
After confirming the equipment. Next, we enter the step of setting up printing.
- Step 1: Activate Email Printing
Activating the e-mail feature is the most important step in starting an e-mail. The activation process varies from printer model to printer model. However, the activation tutorial for the printer is usually found in the printer manual. You can also find detailed instructions on the manufacturer’s website.
Usually, printers are assigned an e-mail address by default when activated. This e-mail address usually consists of random characters from a specified domain name. You can modify this default e-mail address. You can change it to something you remember.
In addition, you need to pay special attention to one thing. You must connect your printer via WiFi, not a USB cable.
- Step 2: Print
Once the settings are correct, you can send the desired file to the printer via e-mail. At this point, the printer will automatically print the documents that need to be printed to the default size. The default size is usually A4 paper size. You must adjust the default settings during the activation process to change this size.
The printer usually accepts a limited number of file formats. But basically, it can handle Word, PowerPoint, and Excel files. It can also handle some JPEG, GIF, and PNG formats. You need to know more about your printer. For example, the acceptable file formats and size information. Most important is the number of printable attachments you can include in each e-mail.
NFC printing is supported on Android and iPhone, but usage varies from device to device. In addition to NFC printing, there are other easy ways to print quickly. For example, Android can choose Google Cloud Print and Mopria Print. iOS can choose E-mail Print.


